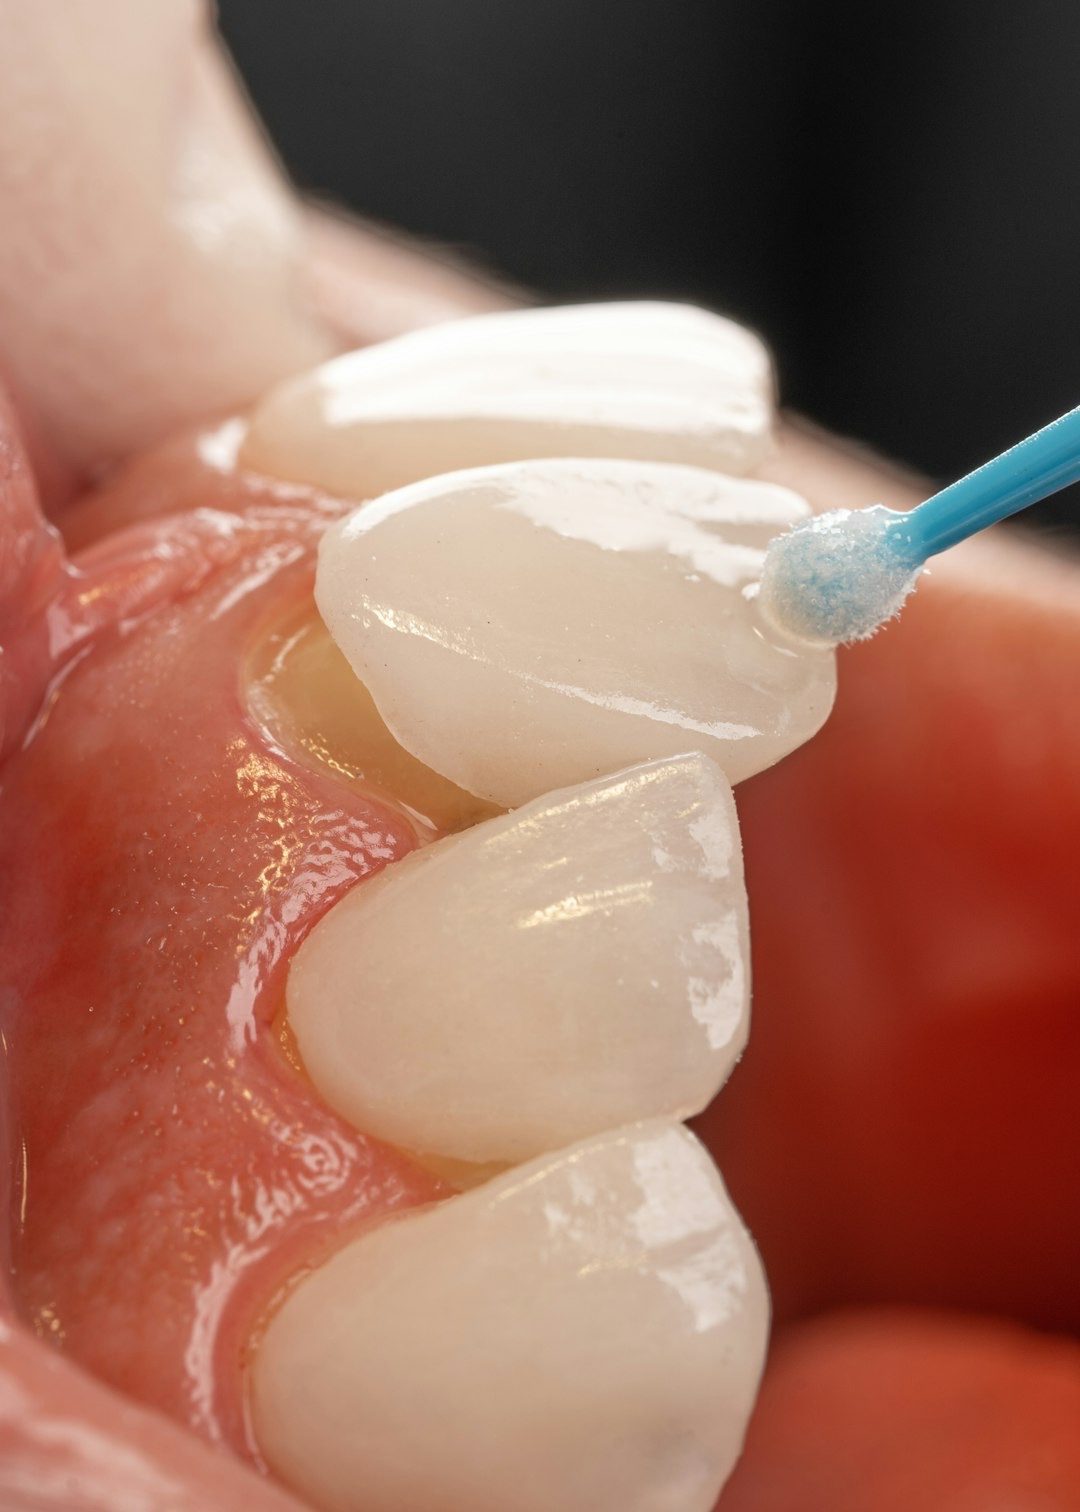
A brighter, more confident smile
A whiter smile is the single most-requested cosmetic change we hear at Campos Dental. Professional whitening — done properly, with custom trays and the right gel — is one of the gentlest and most predictable cosmetic treatments we offer. Age, diet, smoking and certain medications gradually shift the natural shade of your teeth; whitening reverses that shift safely, without removing enamel, drilling teeth or relying on the off-the-shelf “boil and bite” kits sold in supermarkets. What follows is the honest version — written the way we’d talk you through it at consultation — because the most common reason whitening disappoints is that nobody set the expectation properly at the start.
What discolours teeth?
Tooth discolouration falls into two broad categories, and the distinction matters because it changes what whitening can and can’t do for you.
External (extrinsic) staining
The everyday stuff — coffee, tea, red wine, dark soft drinks, curry, soy sauce, balsamic, smoking, vaping. All of these leave pigmented molecules on and just inside the outer enamel layer over time. External staining is what most adults are dealing with by their thirties and forties, and it responds very well to professional whitening. A good hygiene visit through our dental hygiene service — with optional AirFlow polishing for heavier staining — will often lift the surface layer of stain alone; we’ll usually book one before whitening starts.
Internal (intrinsic) staining
Discolouration that sits inside the tooth structure itself, in the dentine layer beneath the enamel. Common causes include the natural yellowing of dentine as we age, certain antibiotics taken in childhood (tetracycline being the classic example), historic trauma that has left a tooth greying, and naturally darker shades inherited from your family. Internal staining still responds to whitening, but it’s slower and less predictable. Tetracycline staining in particular can take months of extended home wear to lift, and sometimes the right answer is whitening followed by composite bonding or a single porcelain veneer on the most stubborn tooth.
When whitening helps — and when it doesn’t
Whitening helps when you have healthy enamel and want a brighter shade. It does not help if the problem is decay, an old leaking filling, a darkened nerve in a single tooth, or visible restorations that won’t change colour. We check for these at the consultation — whitening into an active dental problem makes things worse. If your “yellow tooth” is in fact a dying nerve, the answer is endodontic care, not bleach.
Home, in-surgery or Enlighten — which is right for you?
The whitening menu at Campos has three real options. They produce different results, on different timelines, at different price points — and the right one depends on your starting shade, your timeline, your sensitivity history and your budget.
Home whitening with custom trays — from £350
Our most popular option, and the one we recommend for most patients. After a consultation and shade record we take digital impressions and make a set of custom-fitted whitening trays. You wear them at home with professional-grade gel — typically overnight or for an hour during the day — over two to four weeks. The result is a steady, controlled fade-up of your shade, with room to dial down strength or wear time if sensitivity arises. You keep the trays for life, so future top-ups cost the price of a syringe of gel, nothing more.
In-surgery whitening — from £495
Faster, in-clinic, in a single visit. We protect the gums with a barrier, apply a higher-concentration gel directly to your teeth, and use a light to activate the chemistry. A typical session is around an hour. In-surgery whitening earns its place when you need a visible shift quickly — a wedding, graduation, a job interview — and don’t have the lead time for a full home protocol. Some patients also simply prefer one chair appointment to three weeks of trays at home.
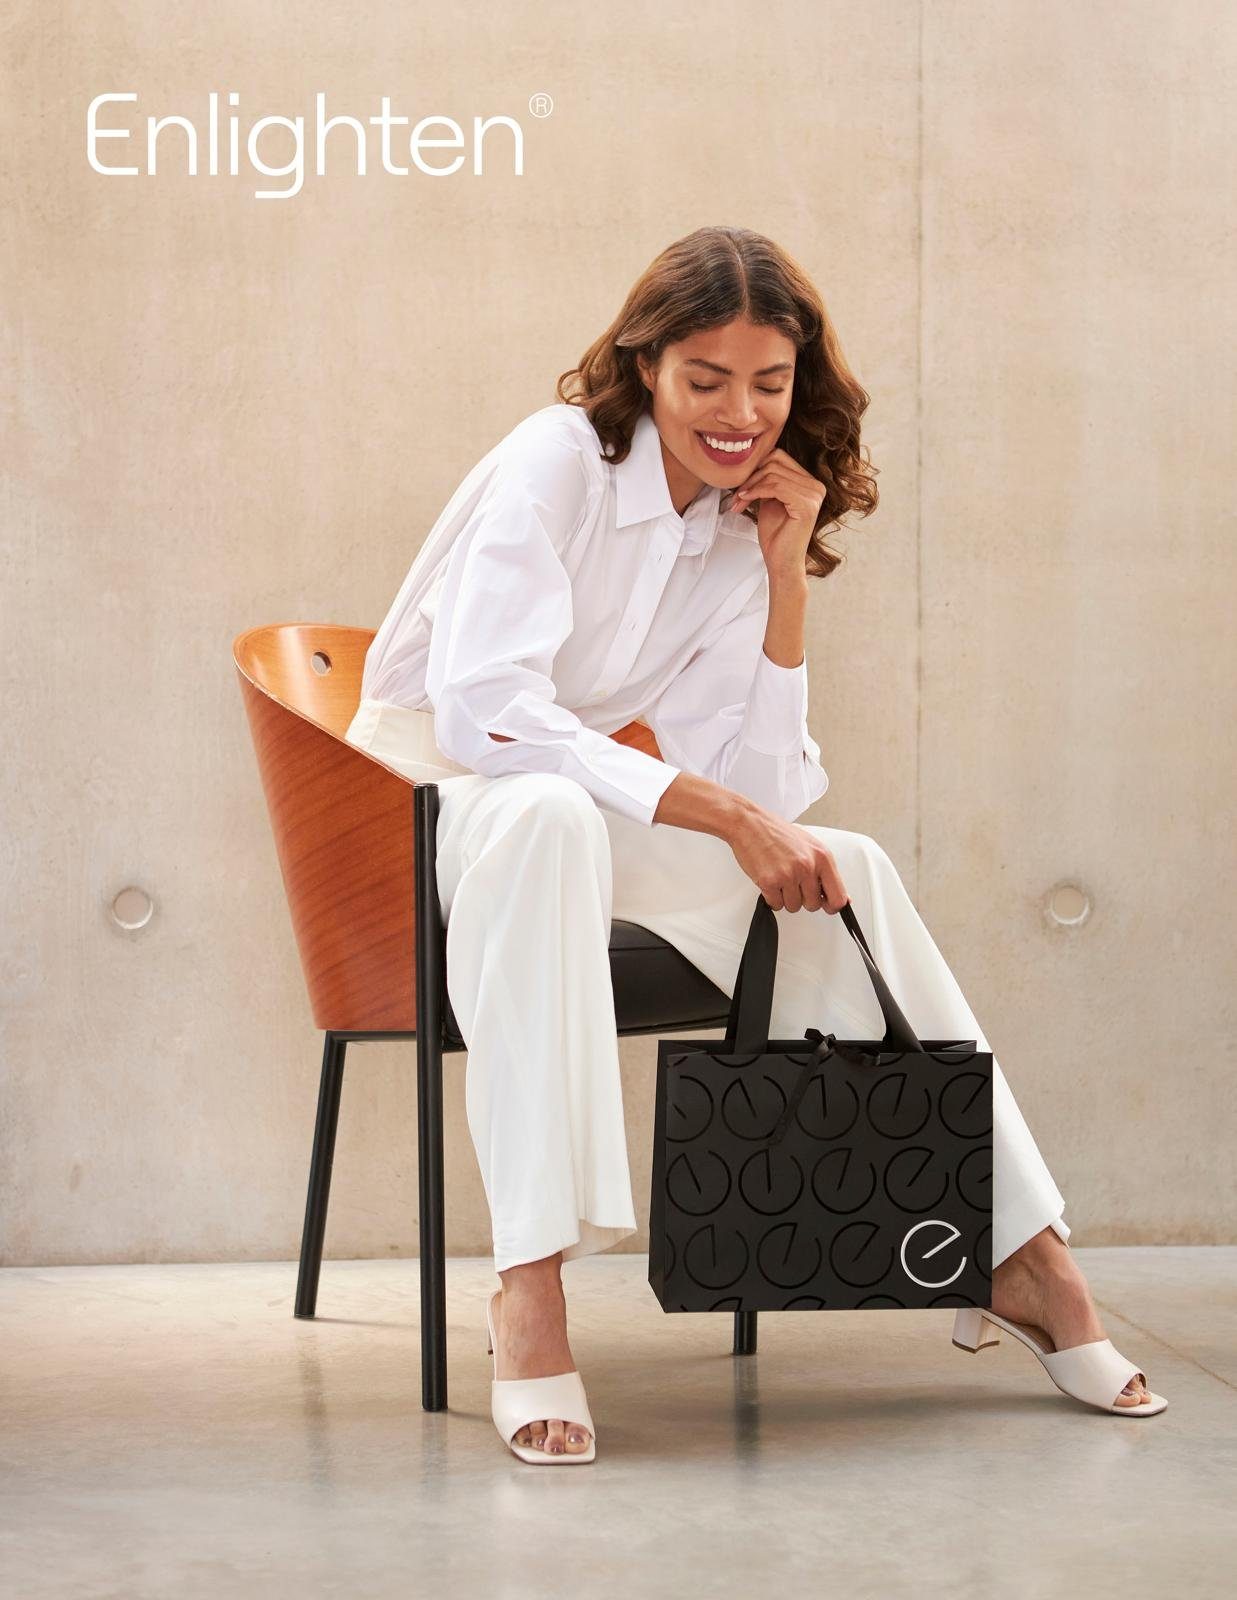
Enlighten Evo — the premium option, sensitivity-friendly, shade-guaranteed
The system we recommend for patients who want the brightest possible result. Enlighten combines a fortnight of nightly home-tray wear with a final in-surgery boost, and uses a lower gel concentration than most power-bleaching systems, so sensitivity tends to be milder. Campos is one of a small number of certified Enlighten Evo providers in Edgware, Stanmore and Mill Hill. The Enlighten price sits above our standard in-surgery tier — we quote it at consultation once we’ve recorded your starting shade. The detail on the B1 shade guarantee follows in the next section.
In-surgery or take-home: a straight comparison
Almost everyone who asks us about teeth whitening in Edgware arrives with the same question. Is the in-surgery session worth the extra money over take-home trays? Here are the three routes side by side, and then the rule of thumb we actually use in the consultation room.
| Factor | Take-home trays | In-surgery whitening | Enlighten Evo |
|---|
| Price | from £350 | from £495 | quoted at consultation |
| Where it happens | at home, on your own schedule | one appointment with us | a fortnight at home, then one appointment |
| Time to the finished shade | two to four weeks | the same day | around three weeks |
| What it asks of you | nightly or daytime tray wear | nothing beyond the appointment | nightly tray wear for a fortnight |
| Sensitivity | easiest to manage, because we can shorten the wear or drop the strength | the most likely of the three, and short-lived | usually mild, thanks to the lower gel concentration |
| Topping up later | your trays are yours, so a syringe of gel is the whole cost | needs new trays or a repeat session | trays kept, same as take-home |
| Typical shade shift | four to eight shades for most patients | four to eight shades for most patients | B1 where the full protocol is followed |
Take-home trays
- Price
- from £350
- Where it happens
- at home, on your own schedule
- Time to the finished shade
- two to four weeks
- What it asks of you
- nightly or daytime tray wear
- Sensitivity
- easiest to manage, because we can shorten the wear or drop the strength
- Topping up later
- your trays are yours, so a syringe of gel is the whole cost
- Typical shade shift
- four to eight shades for most patients
In-surgery whitening
- Price
- from £495
- Where it happens
- one appointment with us
- Time to the finished shade
- the same day
- What it asks of you
- nothing beyond the appointment
- Sensitivity
- the most likely of the three, and short-lived
- Topping up later
- needs new trays or a repeat session
- Typical shade shift
- four to eight shades for most patients
Enlighten Evo
- Price
- quoted at consultation
- Where it happens
- a fortnight at home, then one appointment
- Time to the finished shade
- around three weeks
- What it asks of you
- nightly tray wear for a fortnight
- Sensitivity
- usually mild, thanks to the lower gel concentration
- Topping up later
- trays kept, same as take-home
- Typical shade shift
- B1 where the full protocol is followed
Our rule of thumb is simple. If you have more than a month before the event you’re working towards, take-home trays give the better result for less money and with the least sensitivity, and you keep the trays for life. If you have under three weeks, or you already know nightly tray wear won’t happen, the in-surgery session earns its cost. If what you want is a defined end shade rather than a relative improvement on where you started, Enlighten Evo is the route, and we quote it once we’ve recorded your starting shade.
Whichever route you pick, the sequence before it is the same. Where there’s surface staining to lift we book a hygiene visit first, and we check for decay, gum disease and any existing crowns, veneers or fillings that won’t change colour before a single syringe of gel is opened.
What B1 actually means — the Enlighten shade guarantee
B1 is the lightest of the sixteen shades on the Vita Classical dental shade guide, the colour reference standard used across cosmetic dentistry worldwide. It’s the brightest naturally-occurring tooth shade — paler than what most adults will have ever had, but recognisably still a real tooth colour, not a fluorescent bleached white.
The Enlighten guarantee is straightforward. Provided you complete the full Enlighten Evo protocol — the fortnight of nightly home wear followed by the in-surgery session — the manufacturer guarantees your teeth will reach the B1 shade. This is unusual in cosmetic dentistry, where most outcomes are “an improvement on where you started” rather than “this specific shade.” It’s the reason Enlighten justifies its higher price point for patients who want a defined outcome rather than a relative one.
A few honest caveats. The guarantee applies to natural tooth structure only — crowns, veneers and fillings will not lighten. The guarantee assumes you follow the protocol; missed nights of tray wear undermine the outcome. And B1 is a starting destination — the shade gradually relaxes over the years and needs occasional top-ups to maintain. None of this is hidden in small print; we walk through it openly at consultation, so patients know exactly what they’re buying.
Planning around crowns, veneers and fillings
The most important sentence on this whole page: whitening only changes the colour of natural enamel. It will not lighten crowns, veneers, composite bonding or white fillings. They stay precisely the shade they were made.
For a patient with a single filling at the back of the mouth this rarely matters — nobody sees it. For a patient with a crown on a front tooth, composite bonding across the upper front six, or porcelain veneers placed five years ago, the planning becomes critical. Whitening the natural teeth around an existing crown will make the crown look darker than it did before. We’ve seen patients walk into consultation with a clearly mis-matched front tooth because they whitened first elsewhere and only afterwards realised the crown wasn’t going to change with everything else.
The right sequence is almost always: assess restorations first, whiten the natural teeth, let the new shade settle for two weeks, then replace any restorations that no longer match. Replacement is the route — there’s no way to lighten an existing crown or veneer in situ. For some patients this means a single new dental crown or one composite filling re-done; for others embarking on a smile makeover, it means a full sequence with whitening as the first cosmetic step rather than the last.
The whitening process at Campos
Treatment runs through four well-defined stages, and you’ll always know where you are.
Consultation and shade record
A clinical and cosmetic assessment. We check the health of your teeth and gums, photograph your starting shade against the Vita guide, identify any decay or gum issues to address first, and discuss your goals honestly. If you’re working backwards from an event, this is when we map the timeline.
Custom-tray impressions
We take digital impressions of your upper and lower arches and send them to the lab to make your trays. They are slim, comfortable, and engineered to seal the gel against the teeth without spilling onto the gums — the single biggest difference between professional and over-the-counter whitening. Trays are ready to collect about a week later.
Home wear
At the fit appointment we hand over your trays, gel syringes and written instructions. Most patients wear them overnight, or for an hour during the day where overnight isn’t practical. You’ll see noticeable change within the first week, and reach your target shade between two and four weeks depending on your starting point. If sensitivity arises, we adjust the protocol — shorter wear, alternate days, or a sensitive toothpaste regimen alongside the trays.
Final shade check and top-up plan
We bring you back at the end of the active phase, take a final shade photograph, and check the gums and enamel. If you’re happy with the result we hand over a top-up syringe and maintenance plan. Your trays stay yours — top-ups in future cost the price of a syringe of gel.
Sensitivity and aftercare
Some sensitivity during whitening is normal. Most patients describe a brief zinging or twinge in one or two teeth, usually in the first few days, which fades within a day of stopping the gel. Patients with pre-existing sensitivity or exposed root surfaces feel it more; patients with healthy enamel often barely notice it. Practical steps that make a real difference:
- Use a sensitive toothpaste for two weeks before and during whitening — one containing potassium nitrate or arginine. We’ll recommend a brand at the consultation.
- For the first 48 hours after each session, keep to a “white diet.” Avoid coffee, tea, red wine, dark sodas, curries, soy sauce, balsamic and red berries. Freshly-whitened enamel is at its most porous in those first two days and picks up new stain easily.
- Don’t brush hard immediately after whitening. Use a soft brush and gentle pressure for the first week.
- Dial it down if sensitivity gets uncomfortable. Shorter wear, alternate-day protocol, or a brief break — all work, none of them ruin the result.
- Long-term, plan a top-up every three to six months. A single overnight wear in the existing trays is usually enough to refresh the shade.
Persistent or severe sensitivity is uncommon. If it doesn’t settle quickly after treatment ends, give us a call — there’s almost always a simple adjustment that helps.
Combining whitening with veneers, bonding or Invisalign
Many of our Edgware, Stanmore and Mill Hill cosmetic patients arrive wanting “a nicer smile” and aren’t sure whether they need straightening, whitening, porcelain veneers, composite bonding, or some combination. The right answer is almost always sequencing — and almost always doing less than you initially thought you needed. The principle is to start with the most conservative option and only add the next layer if it’s genuinely needed.
- Step one — straightening, if needed. Many patients are surprised to find that simply straightening their teeth with Invisalign lifts the appearance of the smile more than they expected, reducing or removing the need for cosmetic work later.
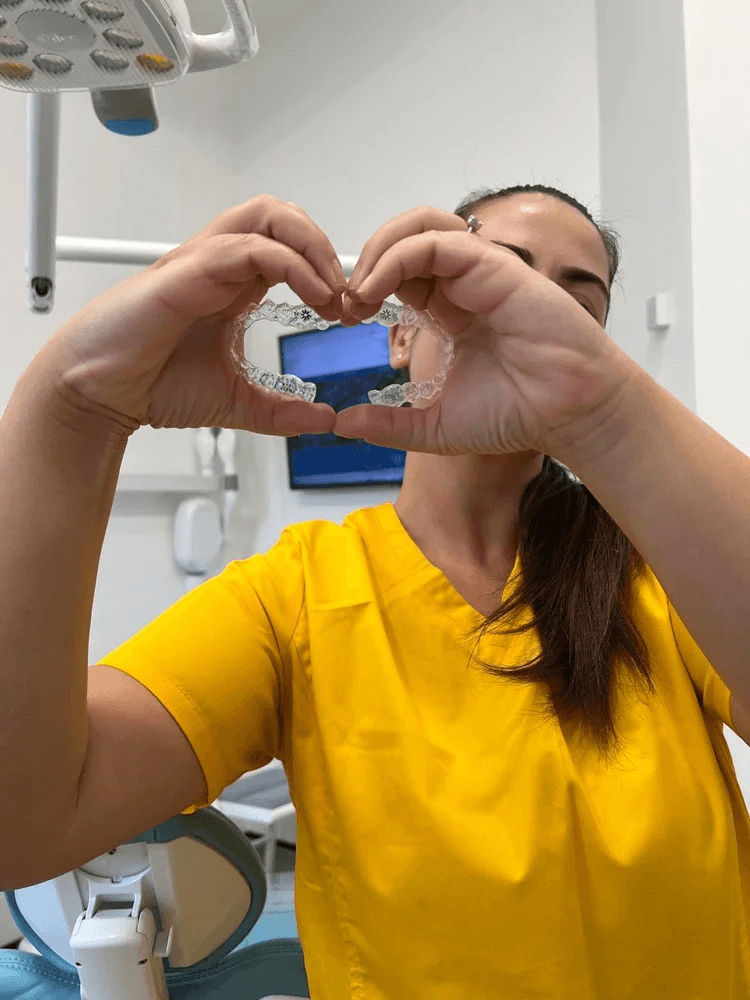
- Step two — whitening. Once teeth are in their final position, we plan whitening on the surfaces that will actually be in view. For Invisalign patients we can often use the final aligner shape as the whitening tray with minor modification, which saves an impression visit.
- Step three — veneers or composite bonding, if still needed. With teeth straight and white, many patients no longer want or need veneers. For those who do — usually to fix chips, worn edges or persistent shape concerns — the cosmetic work can now be planned to a much higher standard.
Done in this order, the result is conservative, durable and looks like a brighter version of your own smile. Done in reverse, we’d be drilling more teeth for a worse outcome — and that’s not the path we take at Campos.
Pricing and finance
Prices belong on a website, not hidden behind a consultation. Here’s where whitening sits on our fee list.
- Home whitening with custom trays: from £350
- In-surgery whitening: from £495
- Enlighten Evo (home + in-surgery, B1 shade guarantee): quoted at consultation — sits above the standard in-surgery tier
Every quote is a single fixed all-inclusive figure covering the consultation shade record, custom trays where applicable, professional-grade gel, the in-surgery session where applicable, and an end-of-treatment review. No surprise charges at the finish line. Our £350 home-whitening starting price sits at the lower end of the local range for an equivalent dentist-supervised kit — whitening is the most accessible cosmetic step we offer, and we’ve kept it priced that way deliberately.
0% finance over up to 12 months is available via Chrysalis Finance, with loan amounts from £350 to £25,000. Members of our adult dental plan receive 10% off whitening treatment.
Ready for a brighter smile?
All treatment plans start with a check-up. Book yours online at 70 Edgware Way, HA8 8JS — straightforward for patients travelling in from Stanmore, Mill Hill, Harrow, Colindale and Burnt Oak. We’ll record your starting shade, examine any existing restorations, talk through the three whitening options honestly, and recommend the route that suits your timeline, sensitivity history and budget. If you’ve a wedding, graduation or event you’re working backwards from, mention it when you get in touch — we’ll plan the timing around your date.
Further reading from the blog